Goose Bumps!

Goose Bumps!

The Grumman Goose project is both challenging and frustrating; it is definitely not a straightforward aircraft to work on. I have primarily focused on updating the empennage, which includes the vertical stabilizer, horizontal stabilizer, rudder, and elevator. During the development of the ordinate study, I observed discrepancies in the documented locations of various components. Let me explain what I mean.

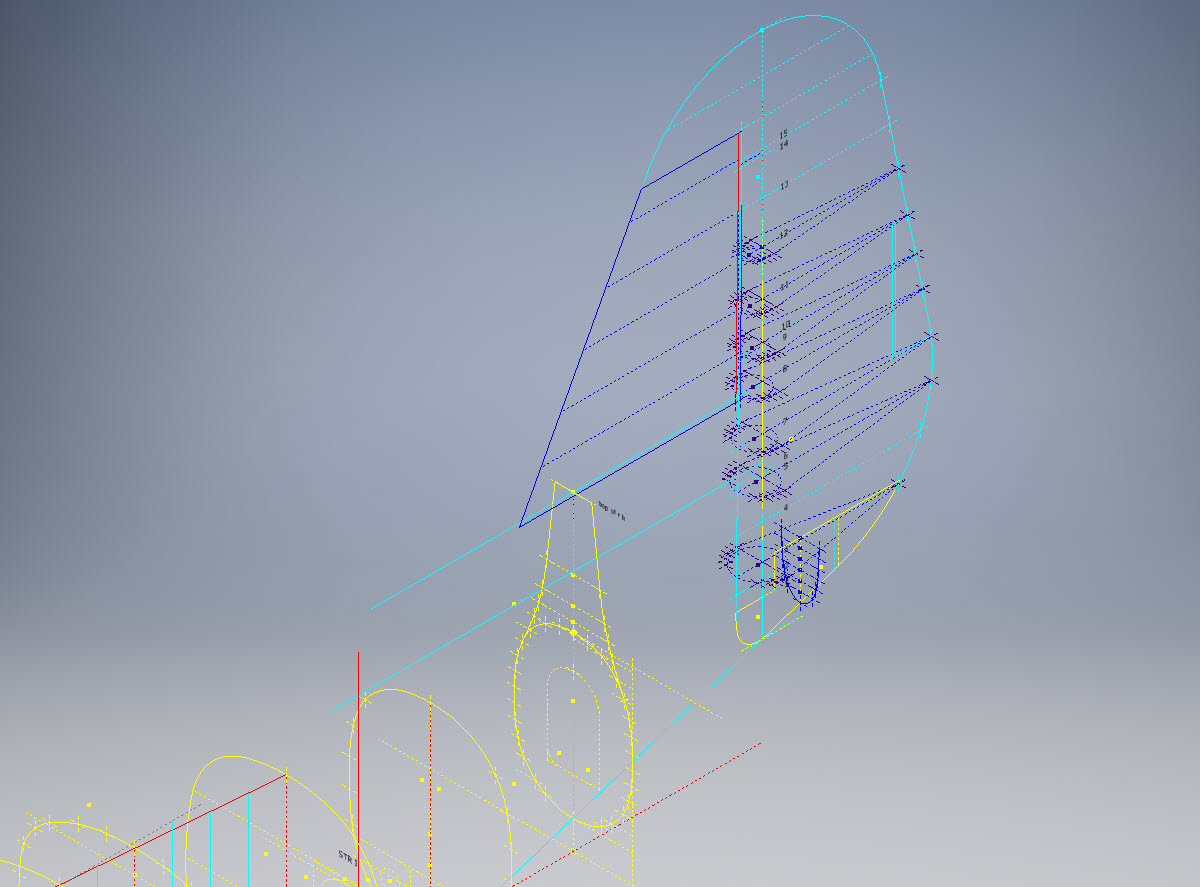
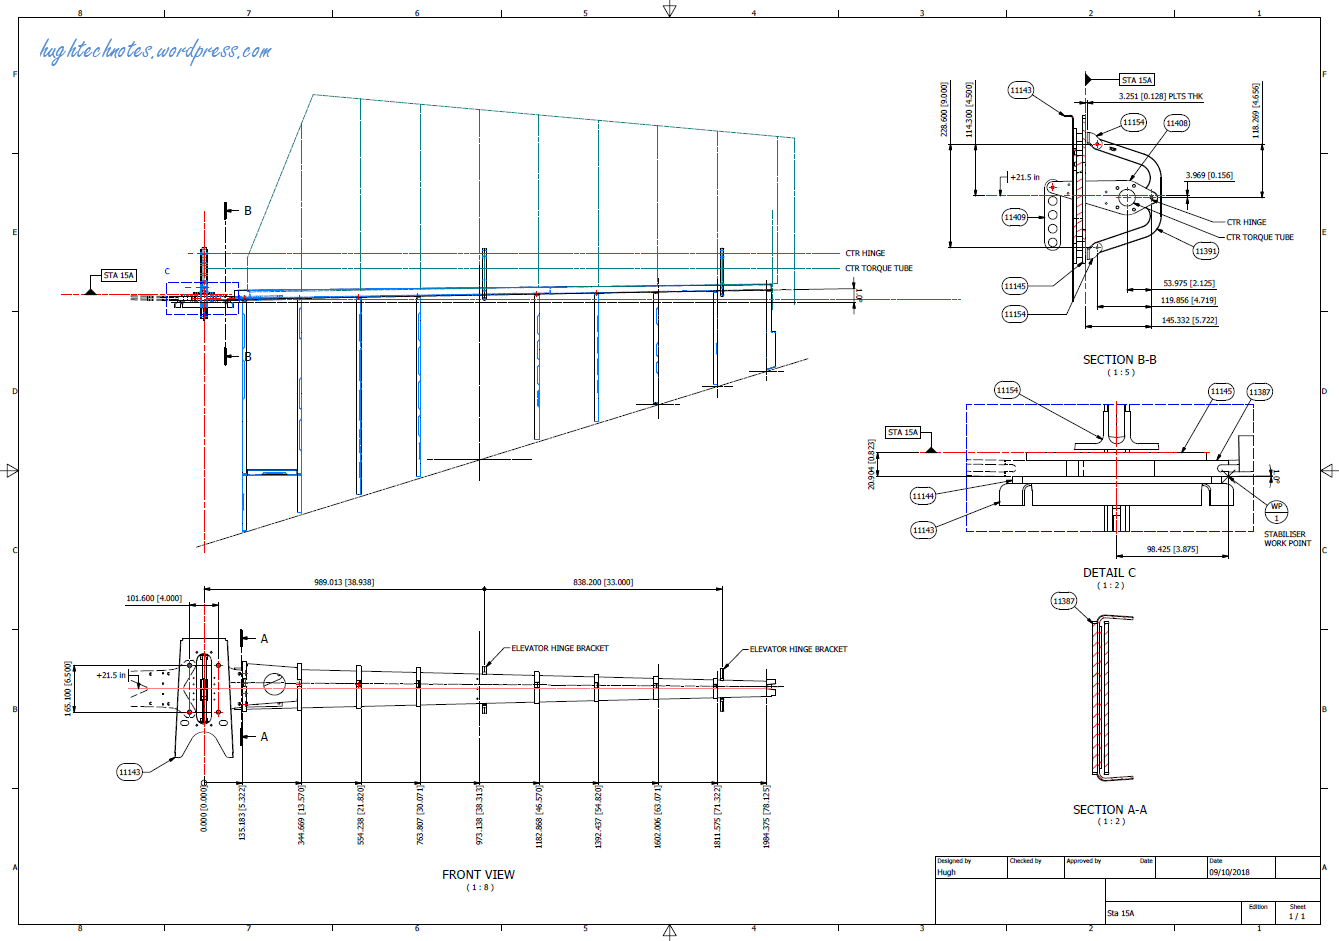
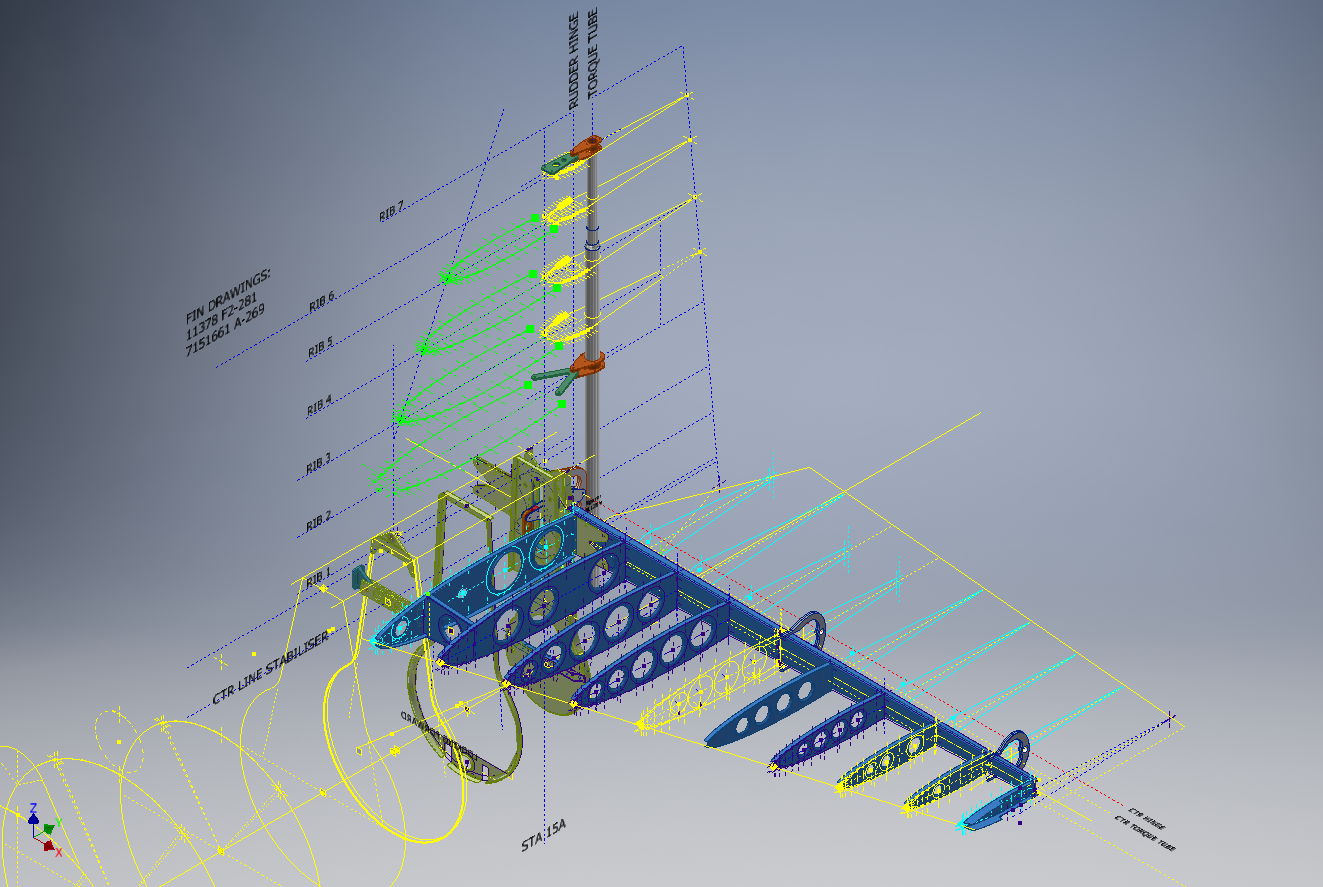
Upon reviewing the CAD drawings on the left and comparing them with the Maintenance Manual diagram, I noticed that the level of the ribs varies by 1/16 of an inch. This discrepancy caused me immediate concern, and I began to wonder where I might have misinterpreted the Grumman drawing data. Therefore, I felt it was necessary to review and verify the information.

Initially, we do not have any reference location information on the Rudder Layout drawing. Normally, you would expect reference dimensions to the fuselage centerline or a fuselage station reference, but there are none. We do, though, have locations of the Hinges on other drawings for the Station bulkheads and Fin layout which in turn will help derive location information for the Rudder.

The first image above is the bulkhead layout at Station 36, which specifies the centre of the hinges 1, 2, 3, and 4 relative to the Fuselage Ref Line.. The second image is the bulkhead at Station 33, which shows the dimension of 65 13/16″ to the top of the Lower Rib on the Vertical stabilizer Fin.

I am looking to verify the dimensions and locations of the rudder ribs and hinges in relation to the Fuselage Reference Line. To accomplish this, we will start with the information we have and determine what additional information we need. The first image confirms that the CAD drawings for the rudder accurately depict the positions of the hinges. The second drawing further supports this; the “Top of Rib” location refers to the lower rib of the fin which includes the locations of the hinge centers. At this point, we have established the correct locations of the rudder hinges from two different sources.

Having determined the hinge locations, we know that the ribs for the rudder are offset by 5/8″ on either side of those locations, which allows us to derive the final levels noted on the Rudder Layout CAD drawing. Does this mean that the Grumman drawings, and therefore the CAD drawings, are correct while the manuals are incorrect? Yes and No…let me explain…
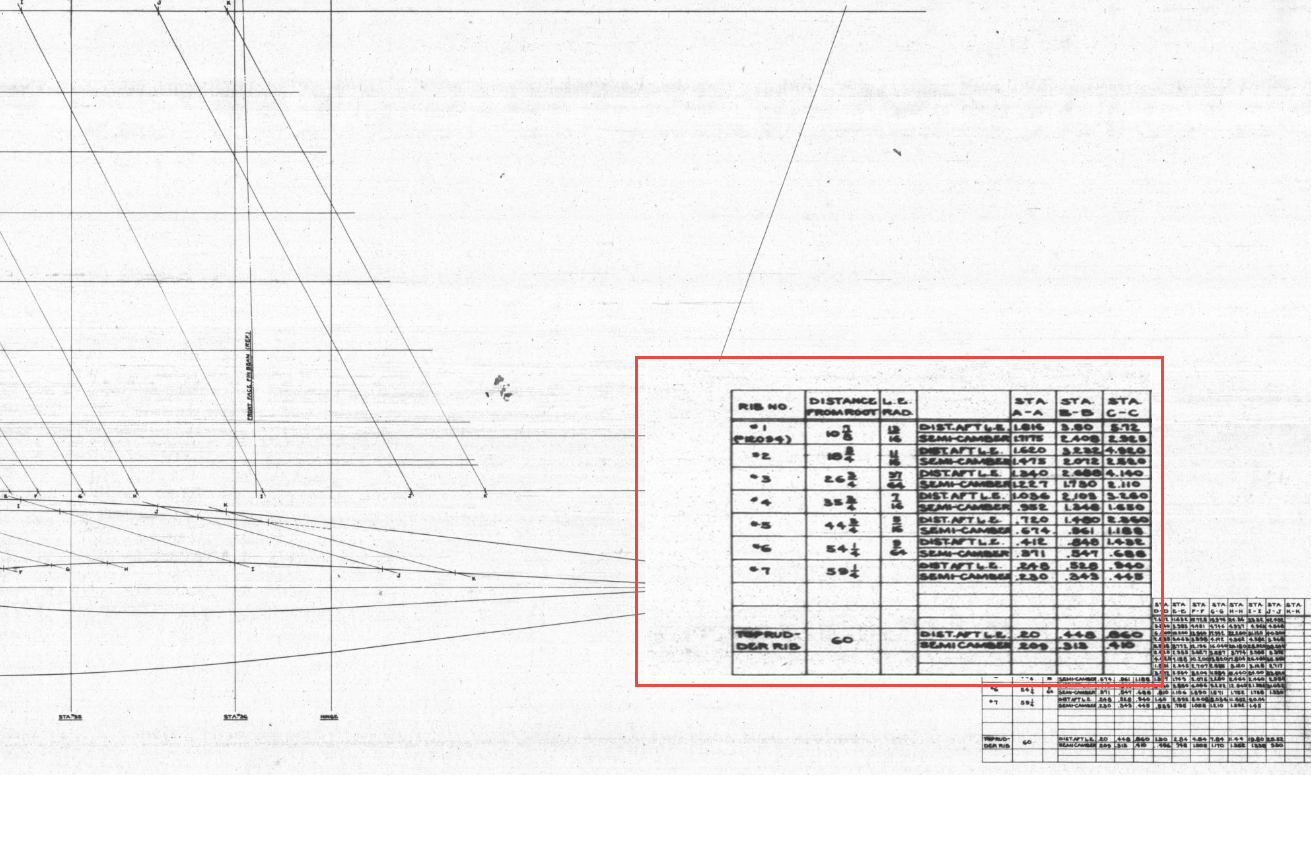
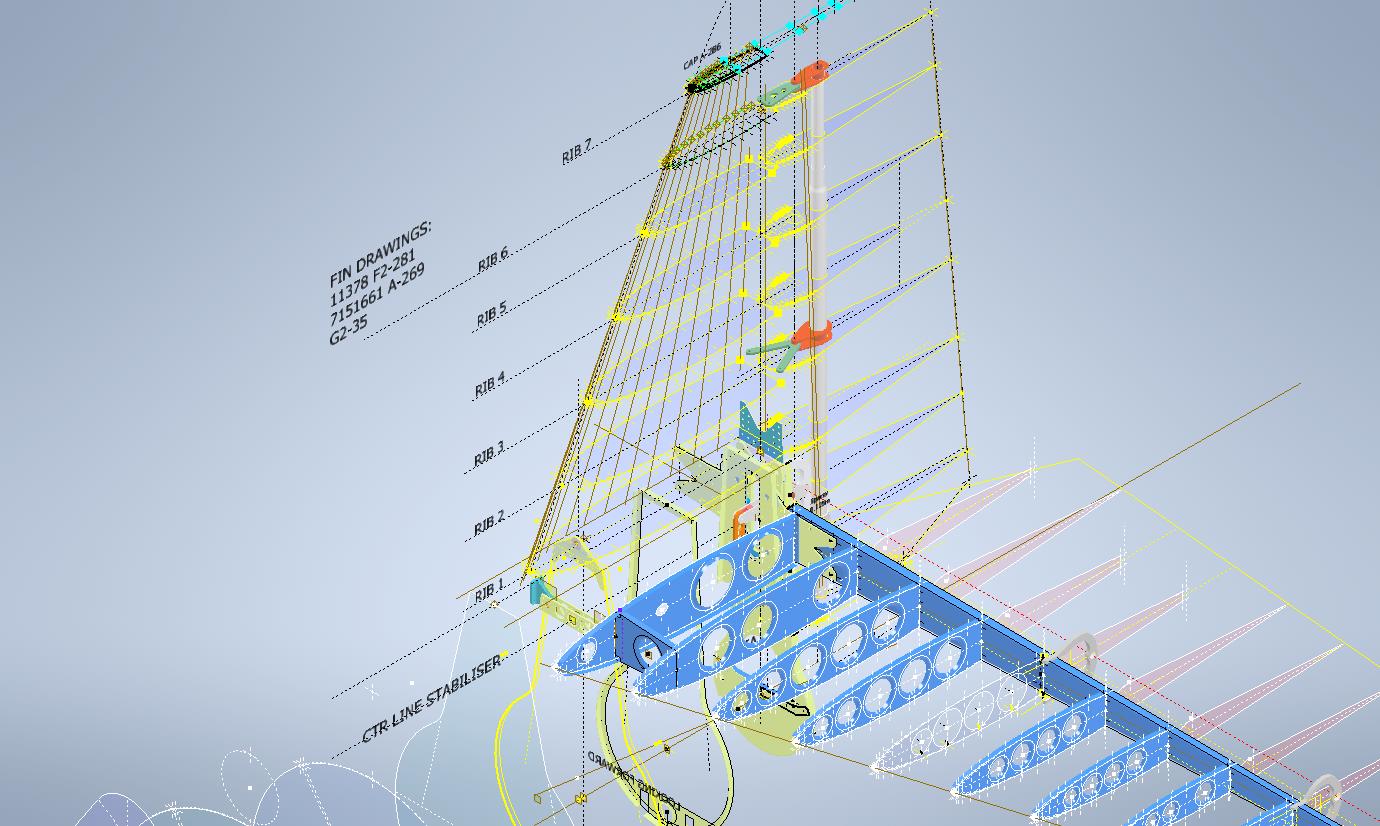
The first image is the Lines Diagram for the Vertical Stabilizer Fin Ribs. In the Table of Offsets, you will notice a list of dimensions from the “Root,” with the first rib specified at 10 7/8 inches. If we overlay these dimensions onto the CAD drawing, we observe a 1/16-inch discrepancy to the top of the first rib. However, all other sources, including those mentioned above and additional references not listed, such as the fuselage Lines layout, indicate that the top of the rib is correctly positioned in the CAD model (second image), contradicting the information provided in this Table of Offsets.

So what is going on?

We should take into account the revision history of the Grumman Goose development. If you examine their drawings, you’ll notice that they have made numerous revisions, some of which are labeled with letters as late in the alphabet as “R.” That indicates a significant number of changes.

I believe that various details have changed over the year, with the more prominent aspects being updated while the less prominent drawings remain unchanged. Regarding the manuals, it seems they were created early in the project, and it may have been considered too labor-intensive to update the level references. This aircraft is quite complex, and I can only imagine the effort involved in both its development and the ongoing updates to its design.

Whenever a small anomaly becomes apparent, I will make an effort to gather information from other drawings to verify the final result. This is one reason why these Odinate studies take so much time; it is crucial to ensure that the final study represents the most accurate dataset possible. If I were building a Grumman Goose replica, I would be using my datasets.

Progress Update 18th March:

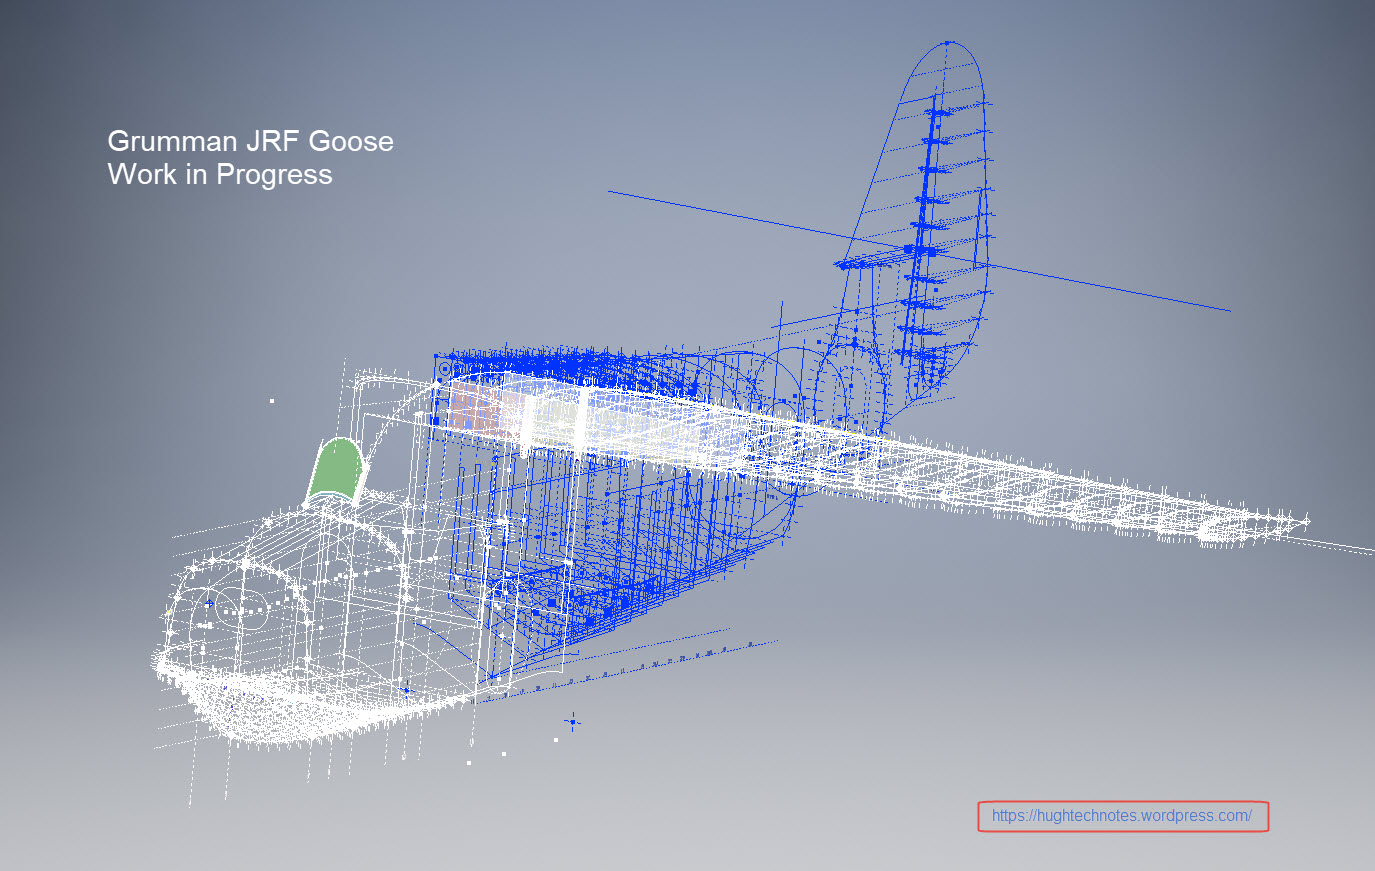
A few screen shots showing the latest updates to the JRF Goose. The wing has been completely rebuilt with all dimensions verified.

P-47 Canopy and Grumman Goose Nacelle

P-47 Canopy and Grumman Goose Nacelle

The P-47 project has now incorporated the Canopy Basic Layout. This Basic Layout represents the surface derived from the table of ordinates, with dimensions that reflect the mold lines at the inner face of the skin. An allowance of 1/32″ is required to accurately represent the actual surface of the canopy glass. All ordinate points are provided in an Excel spreadsheet, as is customary.

Once the best-fit surface is determined, it undergoes a curvature analysis to check for low and high spots. The next part of the process is checking the alignment with the fuselage’s basic layout surface. The Table of ordinates includes the Waterline level for the tangency intersection point between the canopy surface and fuselage at each station. The dashed lines along the lower level of the canopy profiles represent this waterline.

Each tangent point in turn is then checked against the fuselage’s basic layout surface. As expected, there is some minor deviation which is less than 0.3mm which is within acceptable parameters. Of course, with CAD it is technically possible to get this absolutely exact (see next blog article for solution). The primary reason for doing this check in the first place is to ensure we don’t have any rogue ordinates that could create problems later on.

A similar exercise will be undertaken for the forward canopy section and windshield. When we have a satisfactory basic layout surface for each section of the canopy I will endeavor to profile the glass panels and supporting structural elements.

P-47 Cross Tie Wing Hinge/Engine Mount:

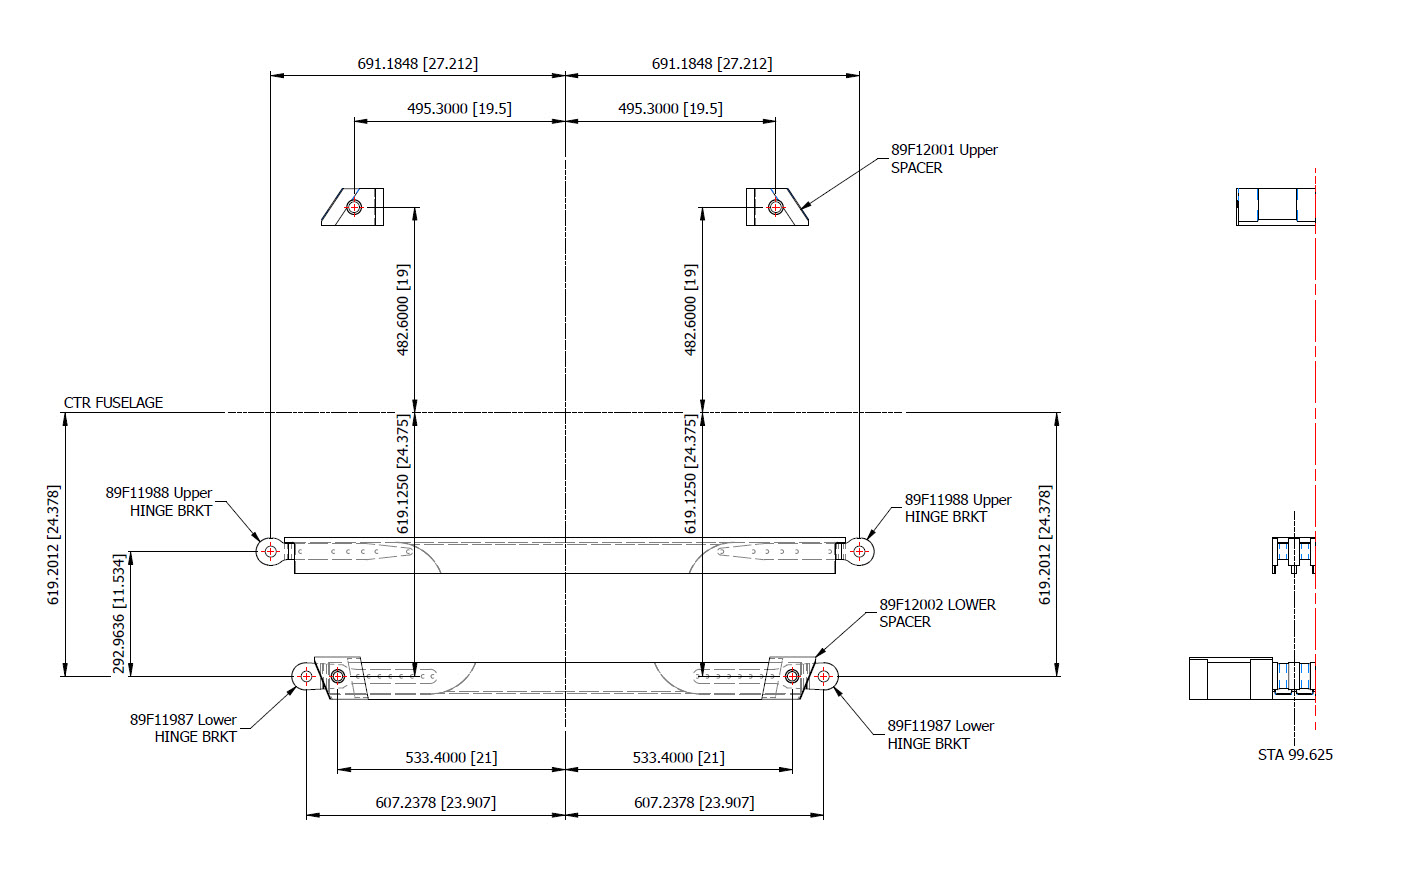
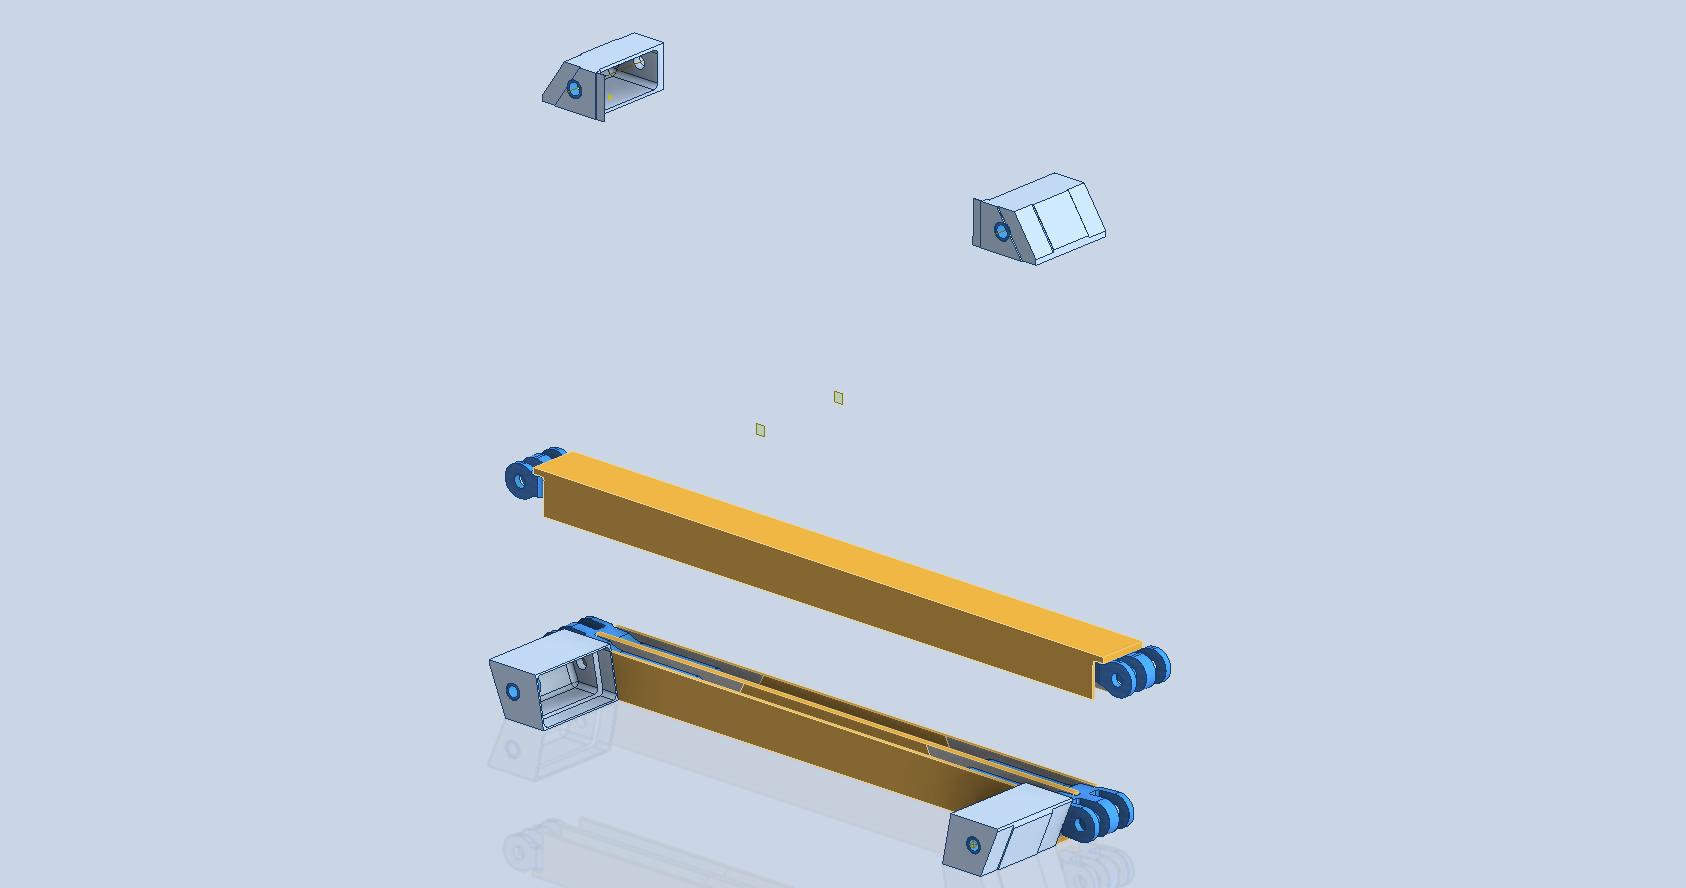
This is the preliminary arrangement for the Cross Tie that supports the Wing Hinge and Engine Mounts. A small point worth noting is that the actual vertical dimension to the Wing Hinge Centre is 24.378in, and the dimension to the lower datum point for the Engine mount is 24.375in. A small variation, almost imperceptible but nevertheless important. This is the reason why the matching holes from the Lower Engine Mount are to be match-drilled through the Cross Tie and not pre-drilled in the Cross Tie. Once I have established the final location for the wing I will cross-check the hinge locations to verify setting out dimensions.

Grumman Goose Update:

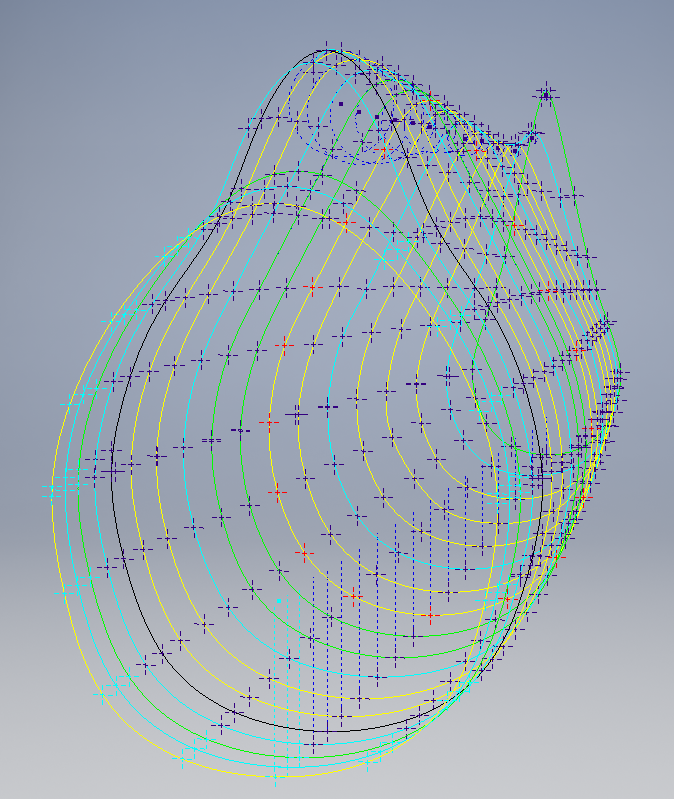
The Grumman Goose is already available as an Ordinate package (See CAD/Blueprints page) which though comprehensive excluded the Nacelle. While I await some information on the P-47 I jumped back into the Grumman Goose project to partially develop the Nacelle and general tidy up of the package as a whole.

The Grumman Goose is not my primary project but as I find time I will drift back to the project to apply updates. I will also do several analysis exercises on the fuselage and wing surfaces to check curvature and alignments. This will be an ongoing project over the next few months. If you have previously purchased the currently available Ordinate package for this aircraft I will send you the updates when they are complete.

Feedback, questions, then please get in touch: hughtechnotes@gmail.com

F4F/FM2 Wildcat Wing Questions 2

F4F/FM2 Wildcat Wing Questions 2

I have given this article the title of “Questions 2” as moving on from my previous post on the FM2 wing, I have identified another anomaly that I cannot explain…another chapter in the development of the FM2.

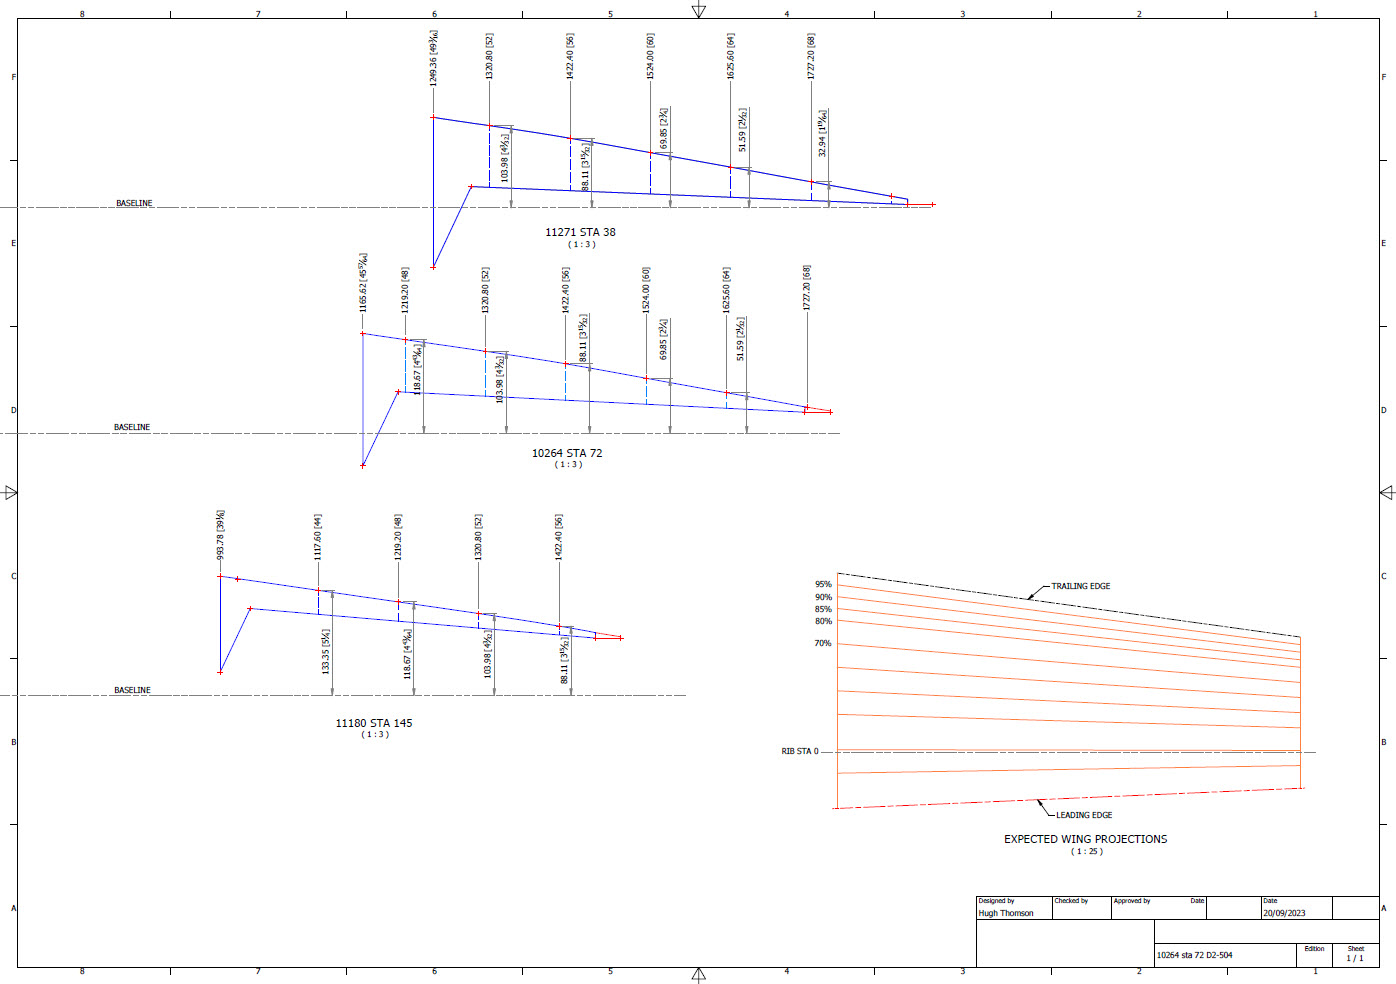
This relates to the wing trailing-edge ribs that cover the main flaps. Normally, when you set out a win,g the wing chord is divided into percentages which would then provide a straight line segment on the surface when lofted between root and wing tip profiles.

For the Wing Trailing Edge rib profiles, this is not the case. At the wing 80% chord line, the top surface calculates with minimal deviation, as one would expect, similarly at the extreme wing tip. However, between 85% and 90% rib chords the deviation is not as expected. The contours at 85% and 90% trace a curve where you would expect a straight line.

What appears to be happening is that the wing TE ribs are dimensioned at various stations from the main Rib Sta 0. At stations 48, 52, 56, and 60, the offset dimension from the Baseline is the same for each rib at each of those locations. The end result is that the wing top surface is actually perpendicular to the wing root chord and does not follow the transition lines you would expect on a conventional wing loft. The transition lines at chords 85% and 90% are curved as you can see from the calculated offset tables below, which would normally be expected as a straight line.

At 80% and 95% chords respectively the wing top surface is for all intents and purposes a straight line as you would expect. The residuals column in the above tables shows the necessary correction offset for the selected point to align with the calculated Best Fit Line in millimeters. It could be argued that the offsets are no greater than +/- 1mm, which is not very much, but the flap ordinates are as shown and could have easily been dimensioned to a 1/64th inch had the draughtsman intended to show something other than they did. This alone demonstrates deliberate intent. So far I have identified alignment issues with the Flaps and Ailerons in my previous post, and this anomaly just adds more questions.

I know that this plane was originally conceived as a BiPlane, which explains the 5 datum lines we have for the wings and I am curious whether that design decision introduced a number of key aspects from which these questions have arisen. The truth is at this stage, I do not know, though the Flaps can possibly be explained; everything else is a mystery.

I have searched and read many forum discussions on the FM,2 and as far as I kno,w none of these issues have been identified or discussed… even the fact that the wing tip NACA profile is not a typical 23009 I suspect should have raised some red flags. Identifying and finding answers for design issues like this is part of the reason why I do what I do.

Grumman F4F/FM2 Wildcat Update

Grumman F4F/FM2 Wildcat Update:

Following on from my previous posting regarding the Excel Transpose function; wherein I mentioned the updates to the Grumman F4F/FM2 Cad/ordinate dataset; I thought I would share a few screenshots of progress so far.

As you can see the aircraft is partially 3D modeled…there is actually a good reason for this other than the fact I enjoy the 3D modeling! I have found that on the main assembly layout drawings, the dimensions are often shown to one side of the spar whereas the actual connecting part is defined to the other side. To ensure I get this stuff right I would model the main spar to correct material thickness and check alignments. Admittedly I did get a bit carried away with modelling some of the ribs.

The wing is probably the most complex assembly to do due to the main ribs being in 3 parts…the leading edge, mid-section, and the trailing edge. Each profile will be recorded separately; as per the Grumman drawings and then compiled to provide full rib profiles at each station. The wing also has 5 datum lines that are occasionally misidentified in the part drawings which can be really frustrating alongside incorrectly placed dimensions…generally wrong vertical dimensions are associated with the wrong rib station, more common than I would like.

Still some work to do to finish these main areas as well as the cockpit canopy, fuselage, and front cowl. I haven’t looked at the undercarriage as yet… development of that will be dependent on available information…we will see!

It is not my intention to fully 3D model this aircraft but where it helps check associativity between parts then I will. The project will fully develop all key profiles for ribs and frames which will be fully documented on Excel spreadsheets as a permanent dimensional record. I plan to have this update completed by the end of September.

The aim of these cad/ordinate datasets is to produce the most accurate dimensional records available anywhere for the various aircraft…nothing is assumed or taken for granted.

If you can help me with the spiraling costs of these projects please consider making a small donation. As usual for all enquires please get in touch at hughtechnotes@gmail.com

Grumman JRF Goose: New Project

Grumman JRF Goose: New Project

Just started a new project to determine the structure ordinates for the JRF Goose. Typically for the Grumman drawings, this will require resources from a combination of tabled ordinate data and extrapolated dimensions from the individual part drawings.

With the NAA drawings for the B25 Mitchell I was spoiled as these guys tend to love ordinate tables and it is much easier to develop the data spreadsheets whereas the Grumman guys tend to fragment the information over several drawings. The wing ribs, for example, are actually in 3 separate drawings; the nose, intermediate and tail-end.

JRF_5-at-anchor

Why Ordinate datasets are important;

I spend a lot of time developing these datasets as a record of my research that can be utilised for various purposes including development of CAD 2D and 3D models. As an engineer, I know from experience that when the skeletal framework of an aircraft is correct then everything else will fall into place. I often see modellers dive headfirst into creating 3d part models and end up encountering problems with alignment and fits.

It is therefore prudent to first check the geometry prior to committing to 3d modelling…it will save you a lot of time, frustration and work in the long run.

The datasets already completed for the P-51 Mustang and the B25 Mitchell have been used by restoration companies, researchers, modellers and RC enthusiasts. The criteria for each group vary so it makes sense to provide the correct geometry in formats that can be translated to any engineering systems in a manner that can be used according to their specific needs.

goosehullxc

The Goose Dataset:

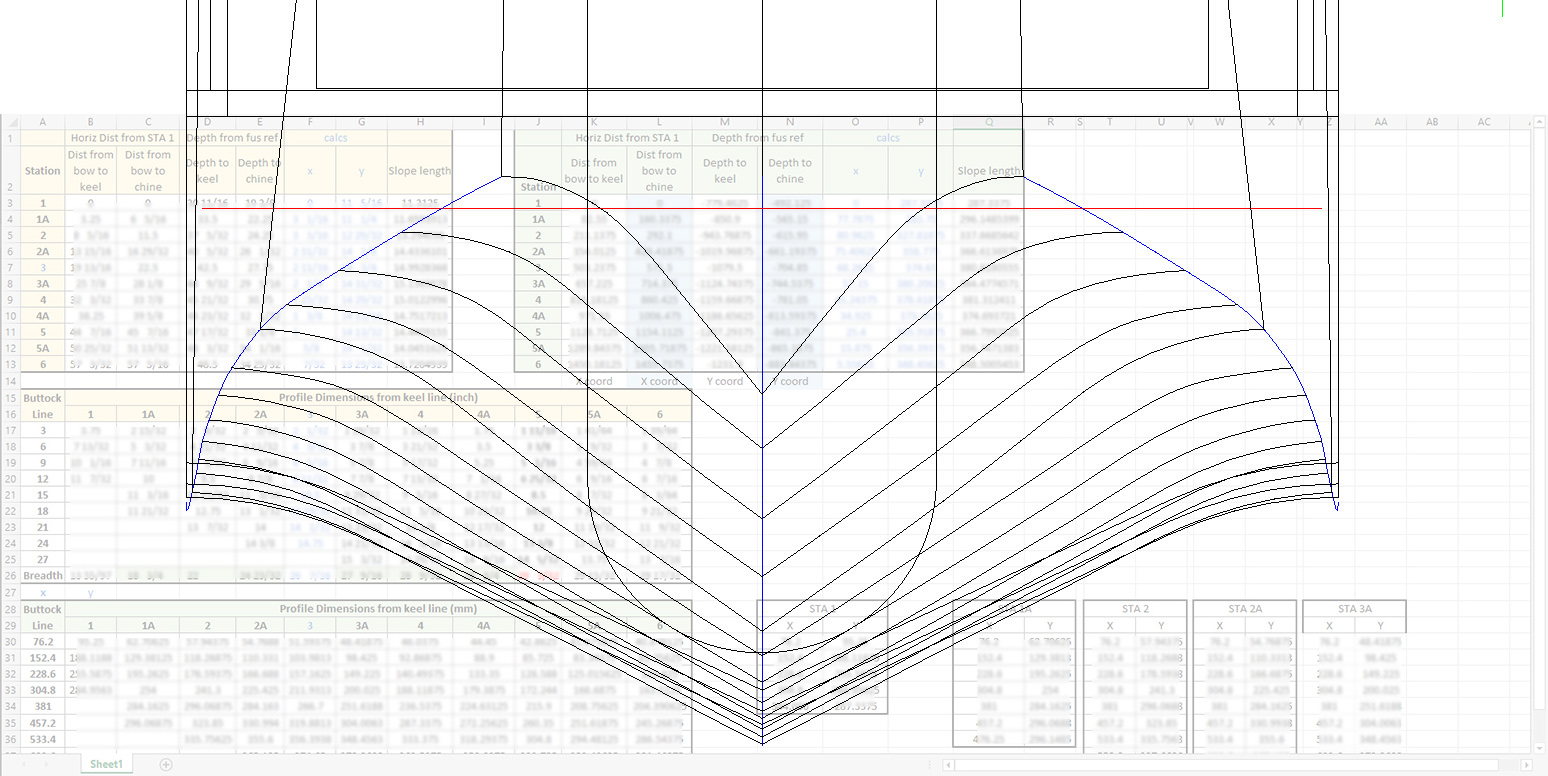
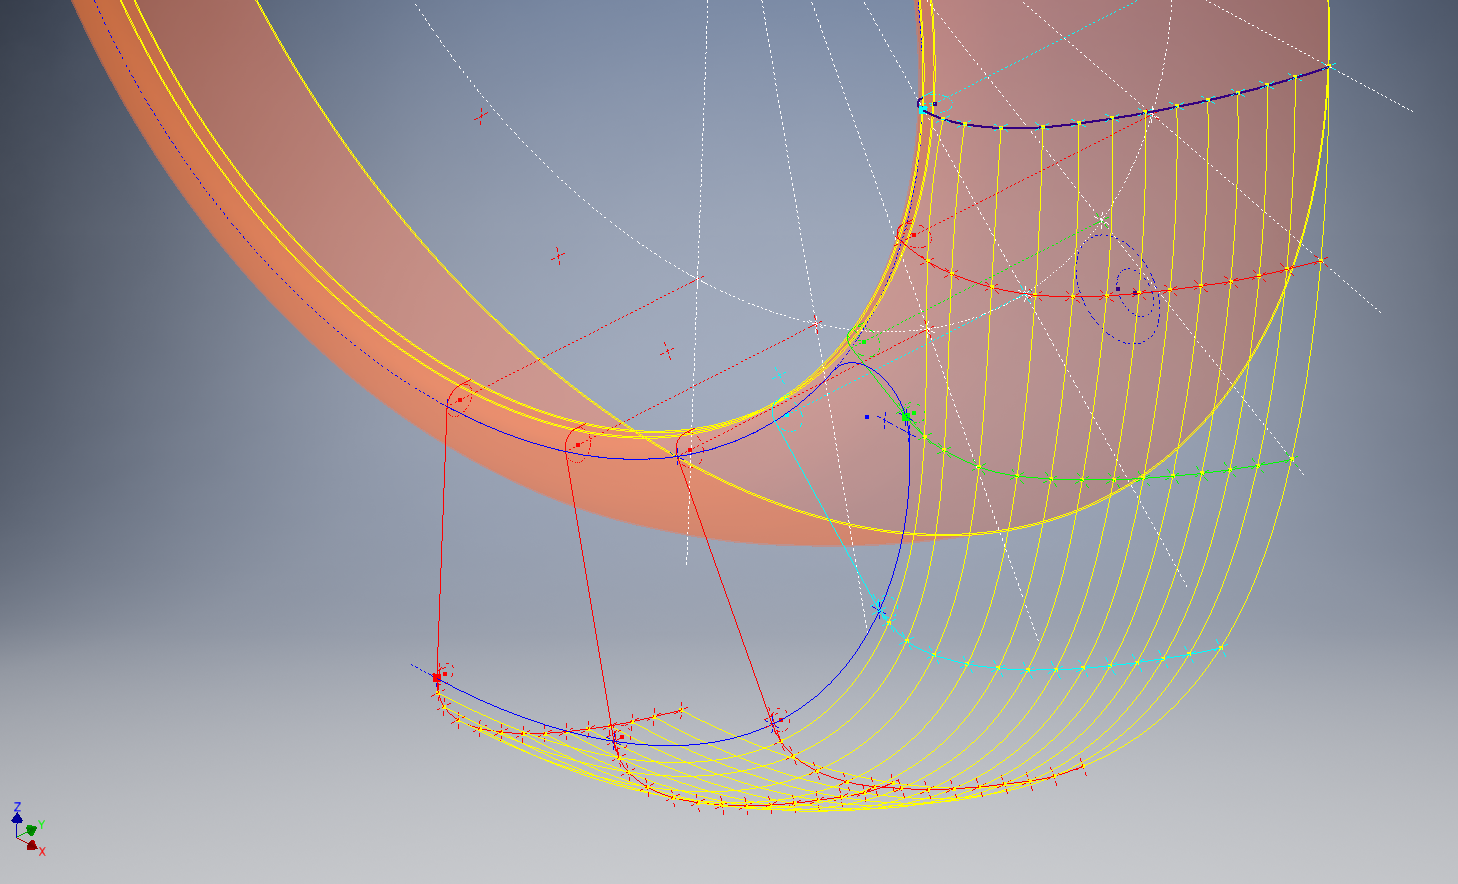
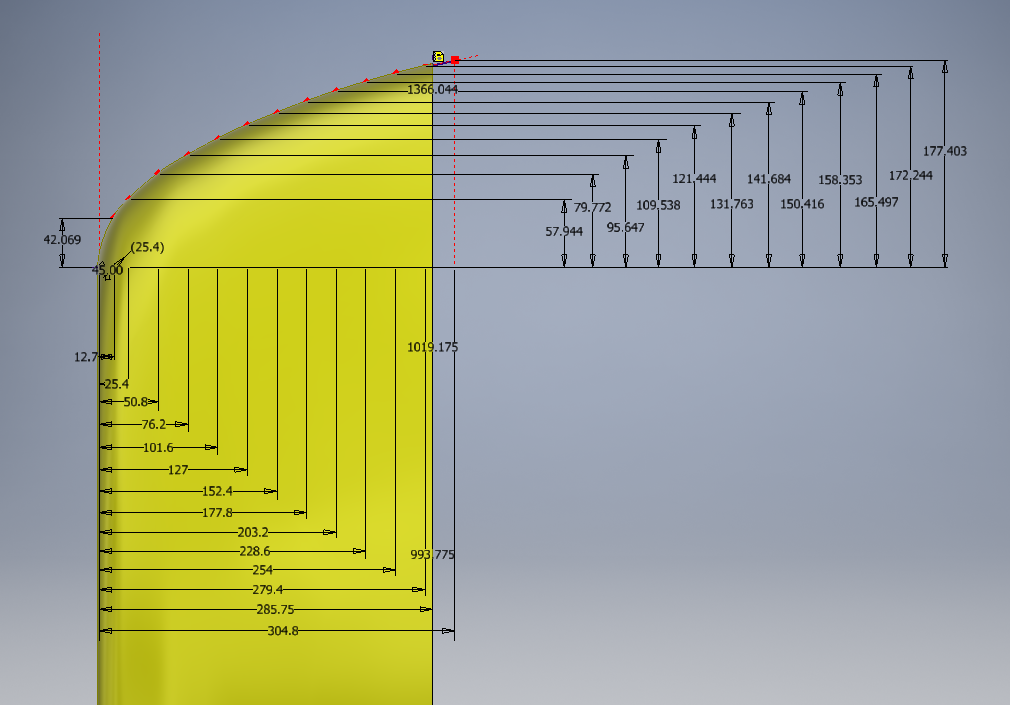
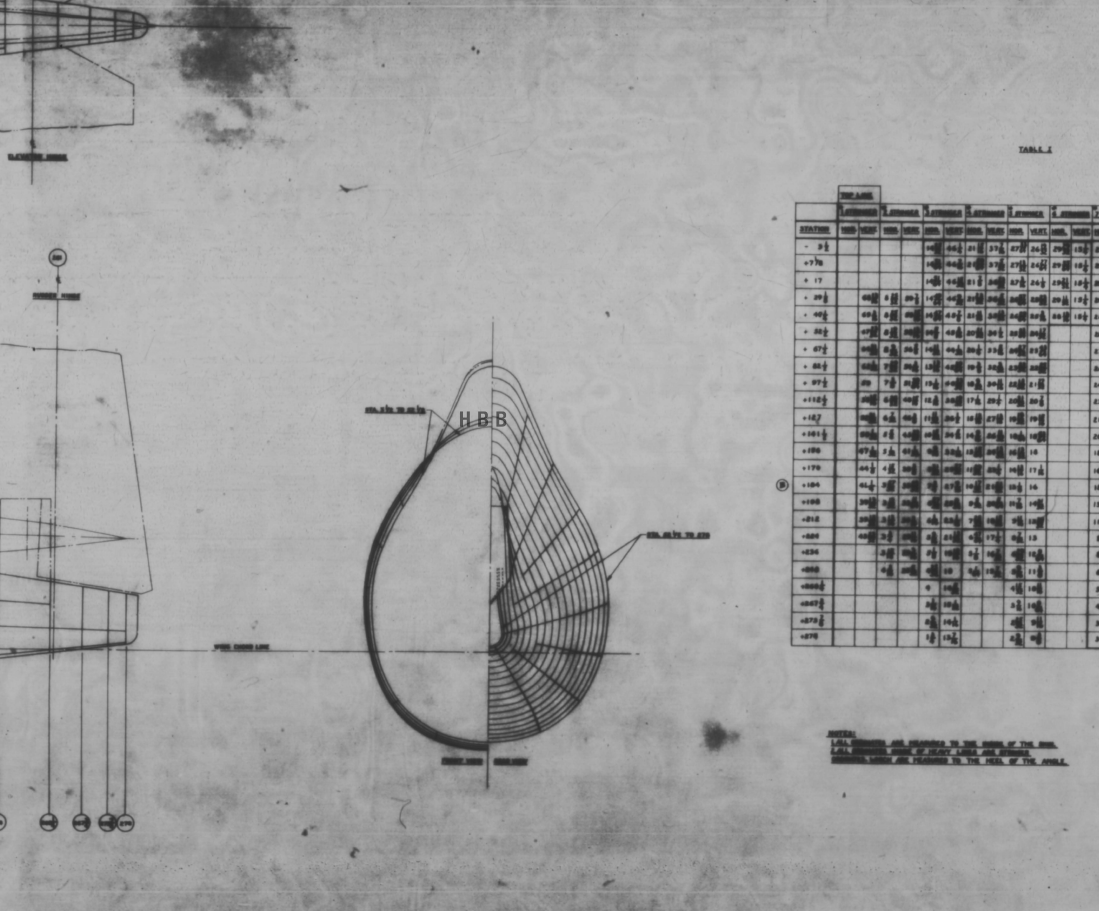
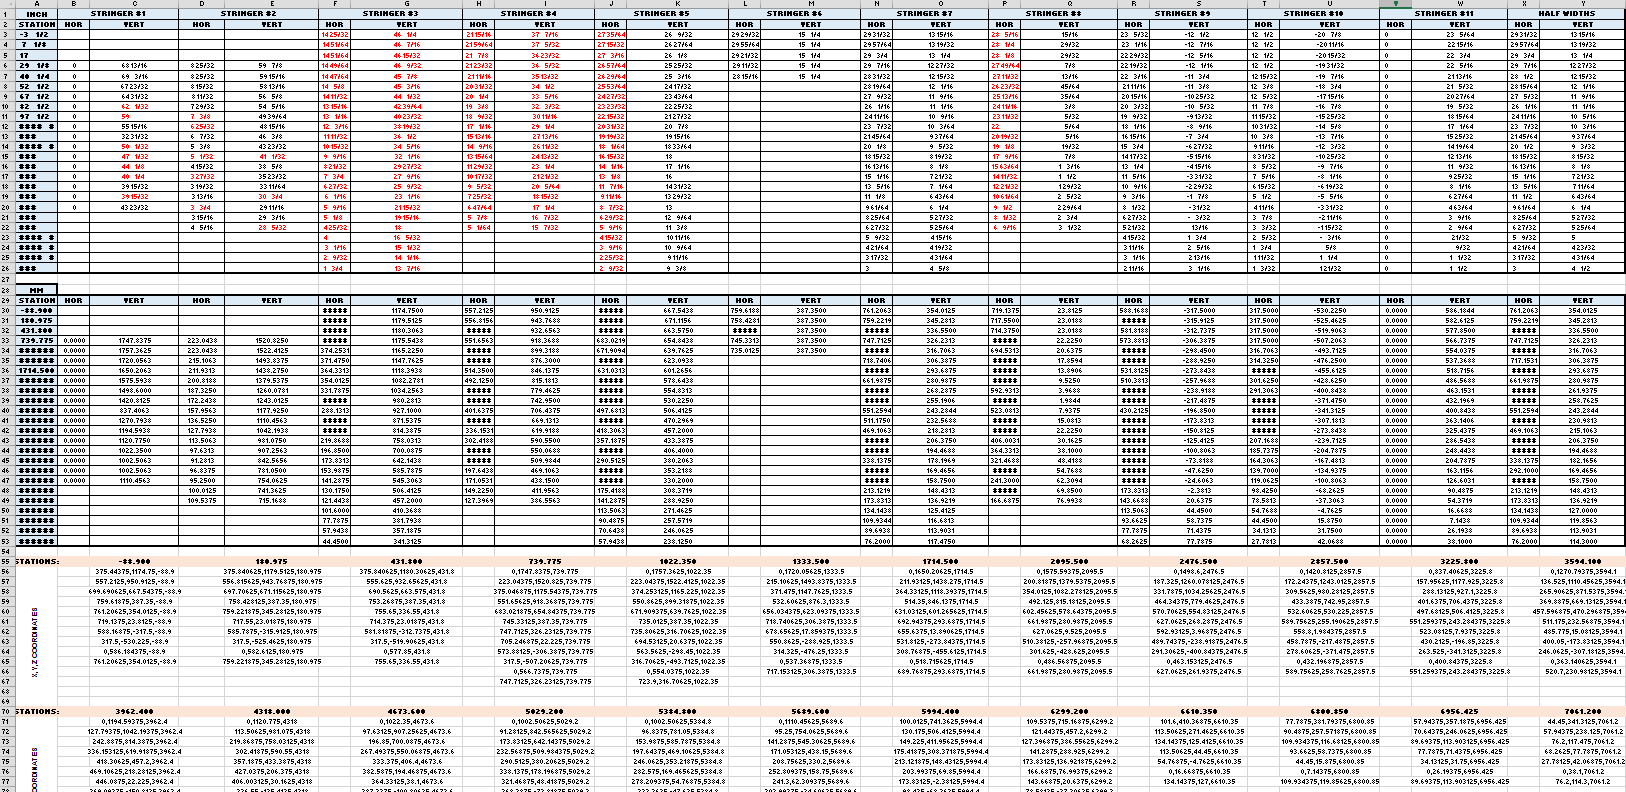
The above cross floor drawing is an example where the ordinates are first compiled in a spreadsheet in both inch and millimetre formats. The core data is then extrapolated to determine the workable X, Y, Z coordinates. This is an interesting aspect of the aircraft design as the cross-floor profiles share similarities with the sister aircraft, the J2F Duck. Where I have cross-references between similar aircraft this information will also be included on the spreadsheet as a record of data resources.

goose wing2c

The wings; as mentioned; are compiled from 3 different sections for the nose, intermediate and tail-end which require 3 sets of tables for each rib and then consolidated.

The ribs once integrated into the CAD assembly are then checked at each ordinate point to verify alignment with the neighbouring profiles to ensure accurate alignment. Occasionally the originating data is unclear so it is absolutely essential to continually check neighbouring associations to achieve accuracy.

X2C

The wing tip float: as well as the float profiles; depicted in the image above; I will also be studying the support structure and relationship with the wing.

This ordinate set will comprise the dimensional data as spreadsheets and as 2d DWG cad profiles for every frame and rib. For the main fuselage, the drawings will contain the key dimensional information in lieu of the usual spreadsheets due to the complexity of the frames. All other areas; wings, cross floor, nacelle and empennage will have both spreadsheet data and drawings.

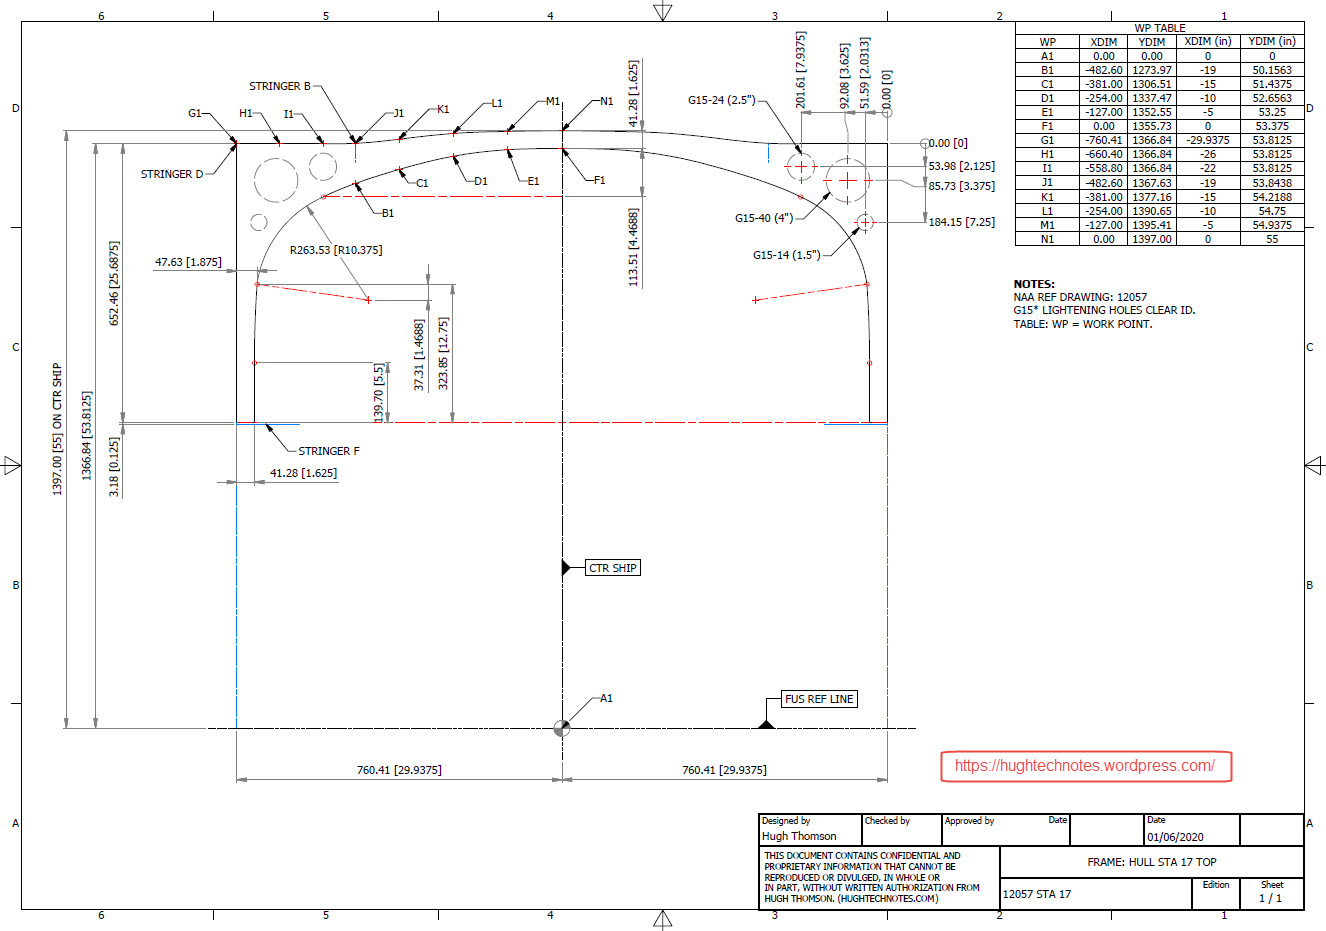
GOOSE STA 17

These datasets are designed to help you get a heads up on your own aviation projects and as a resource for research. I do this work and research so you don’t have to…so please consider supporting my efforts. Thank you.

Update 3rd June 2020:

Have been quite busy figuring out the vagaries of working with the Grumman drawings. They are generally quite good but to be honest the inclusion of a few more ref dimensions would not go amiss! The development of the tail fin and rudder required referencing 3 separate drawings in order to ascertain the correct relationships between the fuselage, tail fin and rudder.

Goose Tail

I also noticed a number of incorrect dimensions during the development of the fuselage and tail. When this happens it is imperative to cross-reference various associated drawings and sometimes even the Structural manual to determine correctness. This is actually where a lot of time is consumed in sorting these issues.

For the wing the ordinates are being checked as the profiles are developed. Part of this process involves developing key structural components as 3d models to ensure that the profile ordinates align correctly. In the following image it shows that the ordinates points align as expected with the red points (intermediate wing section) on the aft of the front beam web and the yellow wing nose points fall on the forward face.

goose wing 1

I am not planning to fully model this aircraft only where necessary to investigate alignments.

TechTip: It can be frustrating working with Grumman drawings…take nothing for granted. The wing ribs as mentioned comprise 3 drawings, the Nose, Box Section and Intermediate. For the sake of complicity I shall refer to them as Nose, Mid and Rear.

W3

One would assume a certain degree of consistency particularly when the detail drawings relate to Station locations. For example: you would expect the STA 37.5 would be a location that would be consistent for the mid and rear sections…but it is not. For the Rear section it refers to the back face of the rear beam and for the Mid section it refers to the front face of the rear beam. So when aligning the various actions it is imperative that the connecting line is either of the chord stations on either side of STA 37.5 (ie STA 40) and not STA 37.5. It is easier for the Nose and Mid Sections as they both have ref dimensions to the common STA 25, however the rear section does not reference chord STA 25.

Seriously a few additional reference dimensions consistently applied would make working with these drawings a lot easier.

I carried out a dimensional study on the spreadsheet data to check the relationships between chord STA, 30, 37.5 and 40. It revealed a number of inconsistencies in the STA dimensions but we did have consistency with the offsets at STA 30 and 37.5 (highlight red).

G8

I would expect that the dimensions from STA 30 and 40 would be consistent with no variation as noted on the Mid and the Rear rib profiles…however that is not always the case. Out of all the ribs only 4 were what I would envisage as being correct. This requires further in-depth analysis to determine the best solution.

This will be a lot of work but a clear example why it is important to record the data in spreadsheets so an analysis like this can be done.

Update 14th June 2020:

Fuselage Frames, Tail Fin and Rudder now complete. Horizontal Stabiliser, Stringers, Flaps and Ailerons, Nacelle and revised wings still to do.

wip

This will be the full package, spreadsheets and drawings. The latter will be all the frames and ribs at 1:1 in Autocad DWG format as well as the full 3d model.

goose keelI seriously think this will make a great foundation for an RC model at whatever scale you desire.

Update 2oth June 2020:

With reference to the Techtip above I have revised the wing layout to correct identified anomalies with the Grumman wing rib drawings.

GrGoose1

I first established 5 ribs that are deemed to be correct, setup a work plane at Chord STA 40 and checked the relationship with the established ribs. For reference I initiated 4 axis selected from 4 known points on the ribs. I then placed the Rib at STA 271 to act as a check. The ordinate points on the profile for this rib is within 0.04mm of the projected axis and the dimensional offset from the work plane is only 0.025mm.

Having now established correct alignments I will introduce each of the remaining ribs, then check dimensions for each one with the work plane and each of the 4 axis. The end result will be a dimensionally accurate wing.

Grumman F4F Wildcat: Aileron:

Grumman F4F Wildcat: Aileron:

Having made good progress on the ordinate set for the Grumman F4F/FM2 I decided to put the spreadsheets to one side and do some modeling to verify the dataset. Normally this would not be required to such an extent but I needed to do this to check the relationship between the components and aircraft datums.

I was spoiled with the P-39 project where virtually every component has reference dimensions to the ship center line or thrust lines so positioning was a breeze. However, the F4F drawings sadly lack this reference information on many of the key drawings so developing the 3d cad model is the only sure way to ascertain this data.

F4F Aileron Render

The above model is the left-hand Aileron modeled in Inventor and rendered in Keyshot. Keyshot is a very good renderer, even for a novice like myself; in which you can generate acceptable renderings very quickly. The real-time rendering is very good and will continue without glitches even on a modestly specced system (unlike some of the alternative products). The user interface is logically set out with a good library of materials and textures. I would highly recommend this product.

Getting back on subject; the Aileron ordinates took a long time to complete for various reasons; requiring constant checking and verifying. Once this was done, the modeling was reasonably straightforward except for the small trimming tab. The drawing dimensions are slightly out, so I extracted the neighboring rib profiles to create the template for a finished model.

I also decided to create a few scrap drawing views as a matter of record that will be useful when I eventually move onto modeling the wings themselves.

F4F Aileron 4

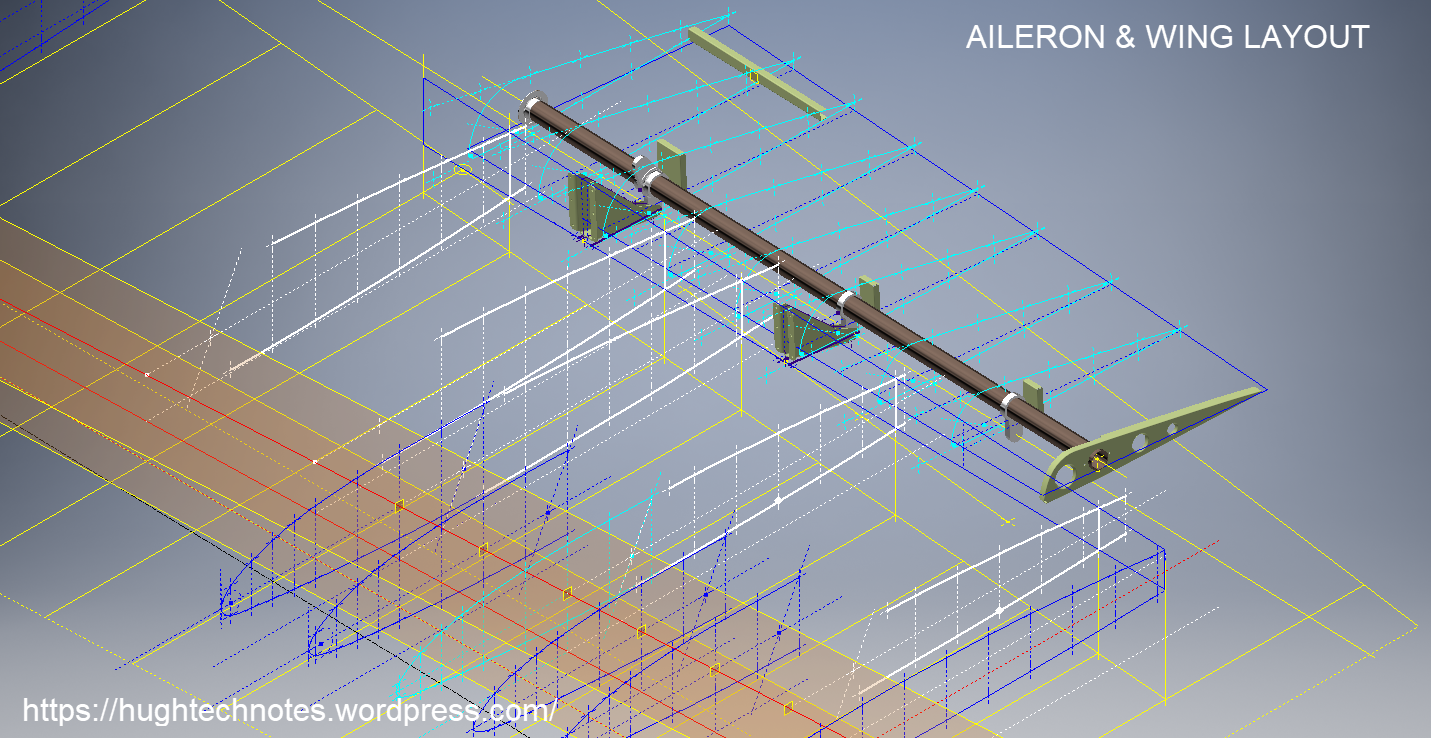
For reference; the following image shows the Ailerons attached to the wing assembly. Hinge positions checked and verified with hinge brackets (orange) fitted achieving a planar variation of less than 0.04mm.

2018-10-07_22-29-40

There are still a few items required to complete this model but this is not a priority for me right now. My next objective is to develop the ordinates and perhaps some modeling for the vertical and horizontal stabilizers.

Horizontal Stabiliser & Elevator:

Grumman F4F-FM2 Horiz Stabiliser

F4F Stabiliser

f4f rear fuselage

Tail Fin & Rudder:

F4F FIN RUDDER

F4F FIN RUDDER 01

Fuselage Frame 3:

F4F Wildcat Frame 3a

If you are interested in obtaining my research data for this aircraft then please send me an email. At the moment this is an unfinished project but the available drawings (12) are fully dimensioned which will help you with establishing correct datums and station frame associations along with a few spreadsheets. HughTechnotes@gmail.com


Grumman F4F Wildcat: Wing Ribs:

Grumman F4F Wildcat: Wing Ribs:

Recently I received an email asking if I had done any work with the Grumman F4F Wildcat. As I do have an archive for this aircraft it was indeed on my to-do list. This inquiry prompted me to have a closer look at the archive to see what information was available to derive a working ordinate dataset.

F4F Wildcat

Similar to the P-39 the archive does not contain tabulated data but the part drawings do have the ordinate dimensions. Working to derive an ordinate dataset from part drawings as you can imagine is quite intensive work as you first have to collate the drawings and then develop the profiles in CAD and then extract the point data to a spreadsheet. A complete reversal of the normal process.

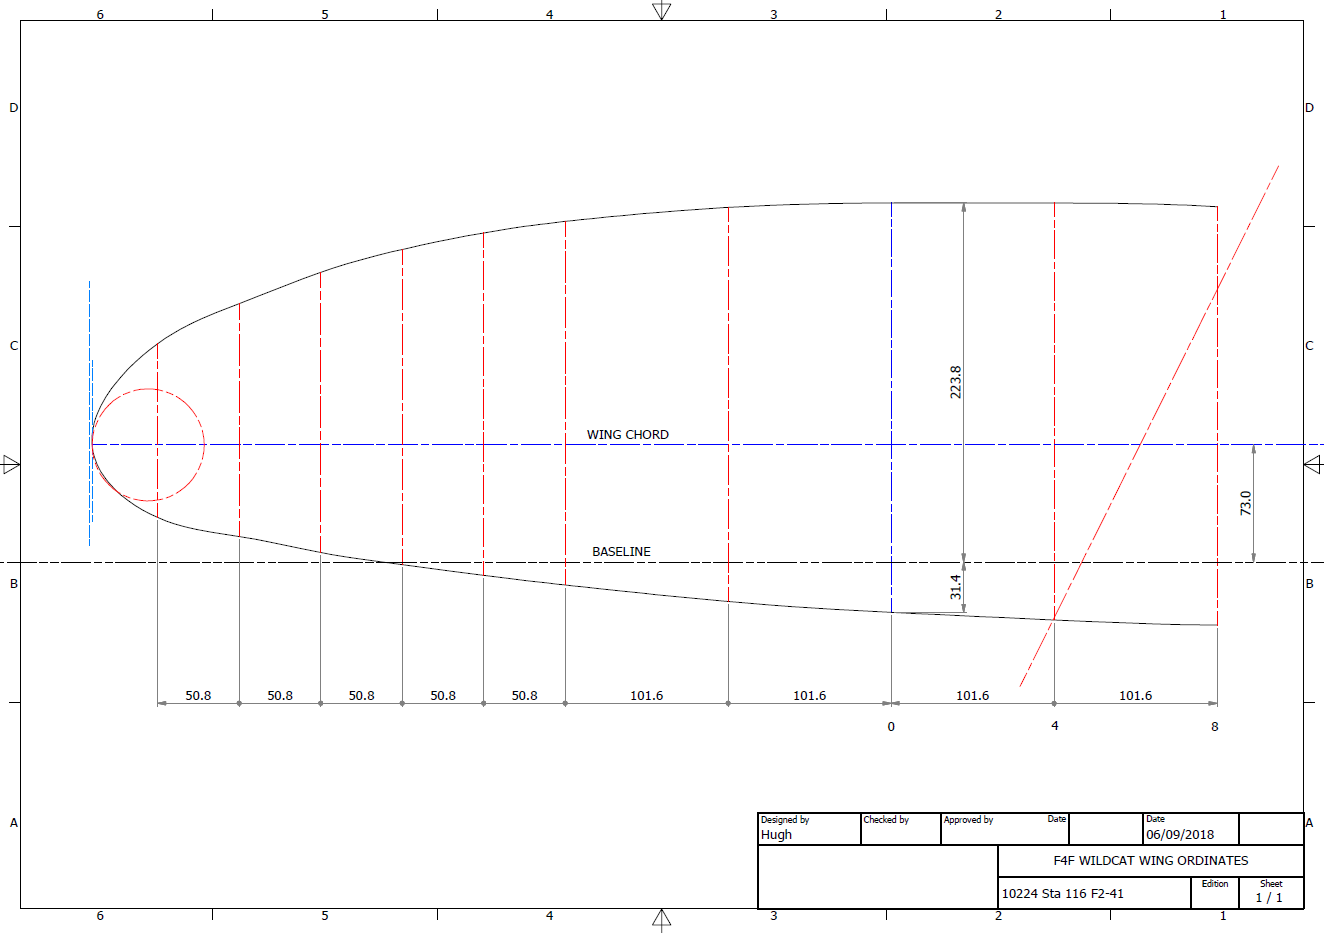
The work I was doing for the F6F Hellcat previously was not a priority task so I decided to do some development on the F4F Wildcat, starting with the wings. This threw up a few surprises as the wing rib dimensions were not relative to the wing chord as you would normally expect, instead, they were from a Base datum line. I had not seen this before and it transpires that the reason for this is because the wing ribs are actually not perpendicular to the wing chord. They are in fact perpendicular to wing datum line.

F4F Wing Ribs

This next image shows a simplified sketch of how the dimensions are shown on the Grumman drawings. Note also that the vertical divisions are dimensions fore and aft of the “0” line (which I take to be the vertical datum) and not percentage breakdown of the cord length as expected.

F4F Wing Ribs2

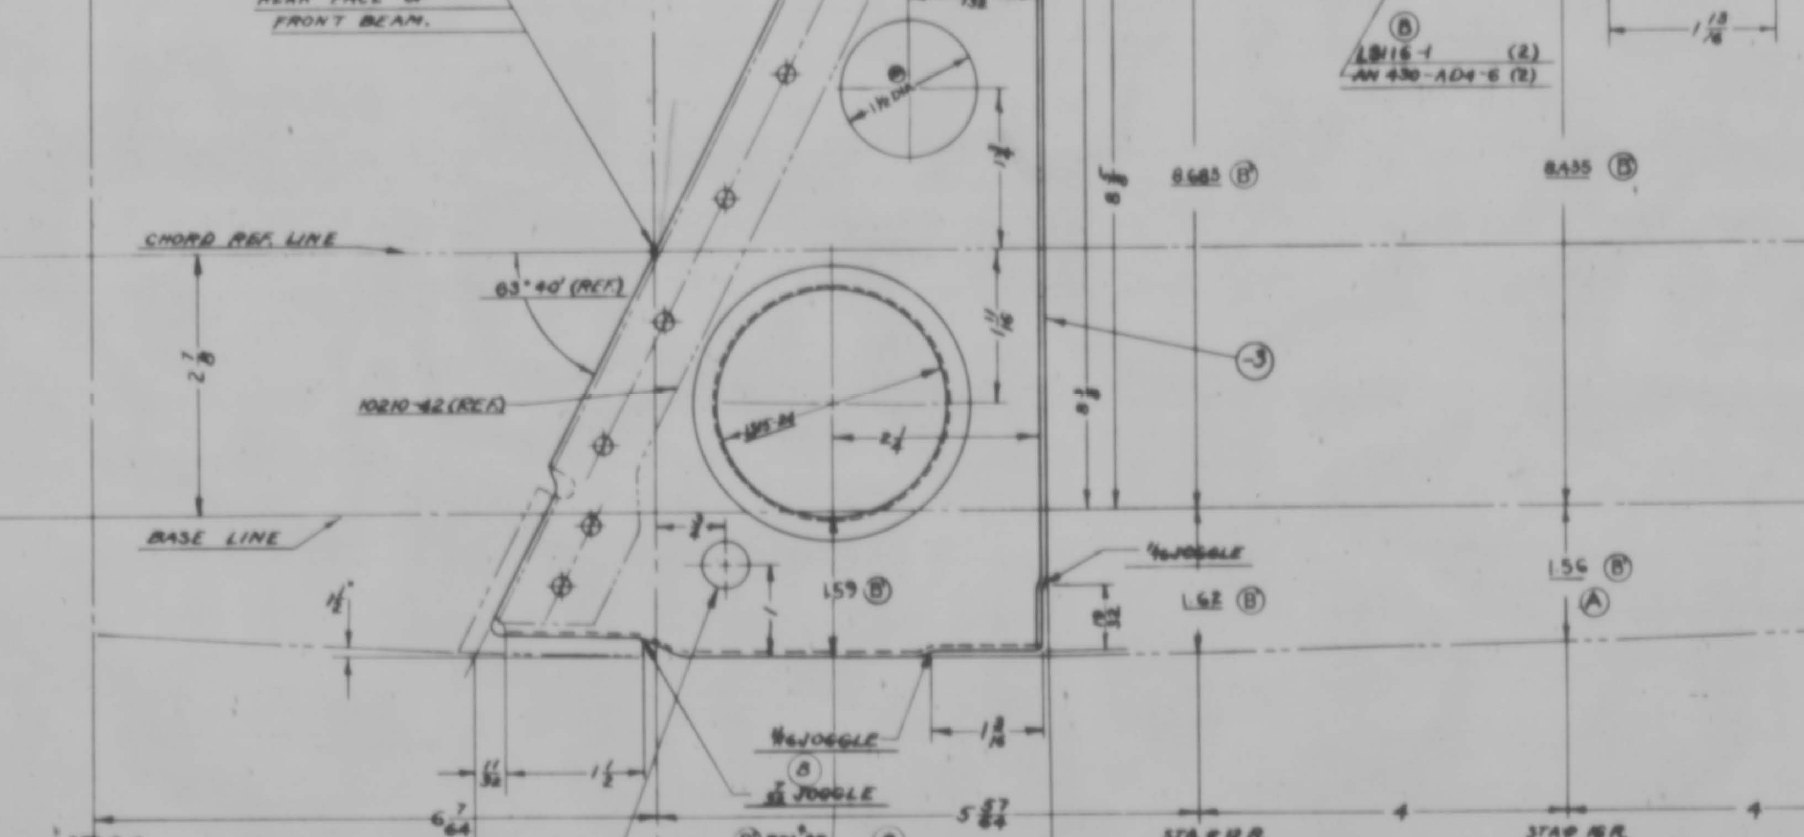
This raises all sorts of questions as to why Grumman designed the wing structure in this manner. I cannot think of any performance or manufacturing benefit in doing so. You can also see in this scrap view from an actual Grumman drawing how the dimensions are to the baseline and not the chord line.

F4F Wing Ribs3

I posted a similar question on the WW2 Aircraft forum, so hopefully, someone will enlighten me on this unusual design feature.

Update: Solved!

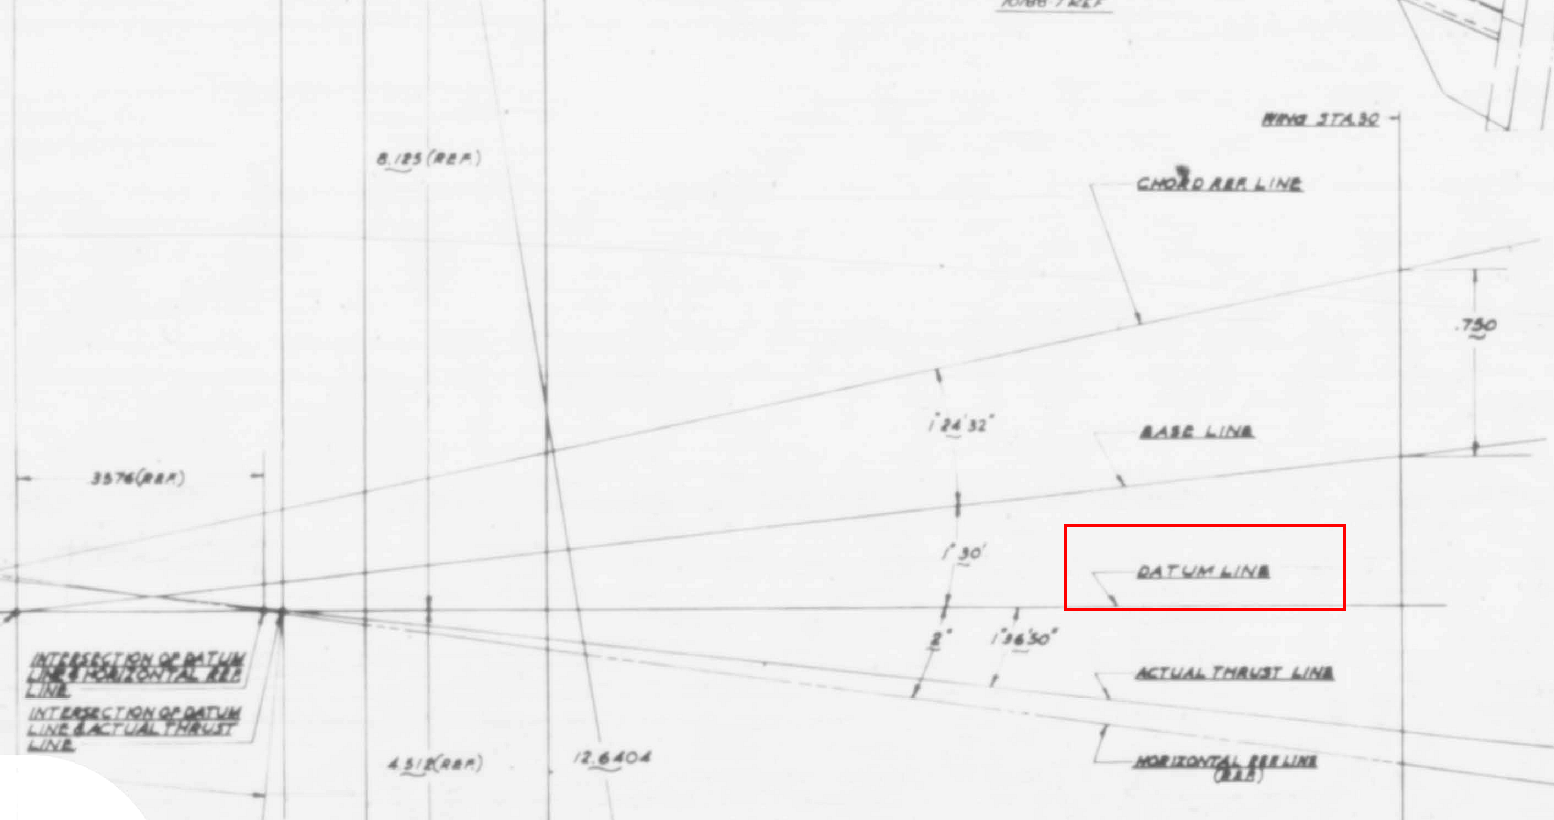
The wing ribs are perpendicular to the Wing Datum line, which is 1.6 degrees from the Thrust Line (essentially the design horizontal axis) that aligns with the fuselage Thrust Line. It transpires that the various wing components are dimensioned relative to any one of 5 different datums depending on their function.

2018-09-16_01-23-03

Update Sept 2018: Work in Progress:

F4F Aileron 2

2018-10-06_19-18-41

Grumman F6F Hellcat: Cowl Ordinates

Grumman F6F Hellcat: Cowl Ordinates:

I may have been a tad over-optimistic in my previous article on the F6F ordinates when I mentioned there was a good chance the Grumman ordinate data would be complete. The one exception is the cowl, although there is an ordinate drawing for the cowl the table itself is just a black blob, completely illegible. However, I checked the part drawings that make up the cowl which is quite well detailed so I made a start on the nose spinner ring.

The spinner ring main model is fine and here it is derived into the air scoop construction model. The construction requires numerous contour lines as each ordinate needs to be manually checked due to the poor quality of the original Grumman drawing scan.

Cowl nose ring3

This ordinate drawing is not deliberately blurred by me, this is how it actually looks like. The main dimension is almost legible just the fractions that are problematic. The process will require evaluating each contour line and curvature check, both horizontal and vertical as shown in the above image.

I am hopeful of achieving a good result with this model which will probably take a few days to complete.

Update 27th August:

F6F Cowl Nose Ring2

I have now determined the correct ordinates for each of the seven profiles. Notice the lower profiles have been artificially extended to the center ring, which will give me better results when lofting. After lofting a surface the plan then is to remove the mouth of the air scoop (blue) and apply the finishing flange to the inner edge.

F6F Cowl Nose Ring80

The ordinates are recorded in a spreadsheet with the x,y,z coordinates extrapolated as I previously did for the wings and fuselage.

Update: 12 Sept 2018:

Cowl Ring Cowl Nose setout dimensions verified.

F6F Ring Cowl Nose

Ordinate Dataset Completed: Wings, Fuselage and Front Air Scoop.

The F6F archive of scanned Grumman documents comprises over 7000 drawings in PDF.

Grumman F6F Hellcat: Ordinates

Grumman F6F Hellcat: Ordinates

I am without access to a Cad system for a few weeks so I decided to spend time reviewing my archive collection. Whilst looking through the many aircraft in the archives I came across some interesting information for the Grumman F6F Hellcat.

F6F-3_Hellcat_11_of_VF-2_on_the_catapult_on_board_the_carrier_USS_Hornet_CV-12_May_6_1944

The archive consists of a substantial number of the Grumman drawings, varying in quality from very good to very poor, though I should clarify the latter relates to only a small number of drawings. This archive includes ordinate tables for the wings and fuselage so I figured it might be a worthwhile project to attempt to decipher and create a set of ordinate spreadsheets as I have done previously for the Mustang P-51.

Hellcat ordinates

Though I rather like this aircraft it was not a priority project on my to-do-list, but having spent today studying the Grumman drawings this could turn out to be a rather challenging project.

Fuselage Work in progress:

hellcat ords 2

Update:

hellcat prelim 2I have managed to obtain a trial copy of the Inventor LT so I can now move ahead with this project. This first interpretation of the fuselage profiles is actually not bad at all. A few macro adjustments will be required to get the profiles correct, mainly due to the quality of the archive where roughly 10% of the values are very difficult to read.

Each point represents the ordinate of the longitudinal stringers which I will profile to assess the alignment and curvature as an aid to finalizing the frame ordinates. Perfecting the frame ordinates can become quite tricky at this stage, requiring constant referencing of the original drawings including the frame structures themselves which often provide additional information that can assist with this process.